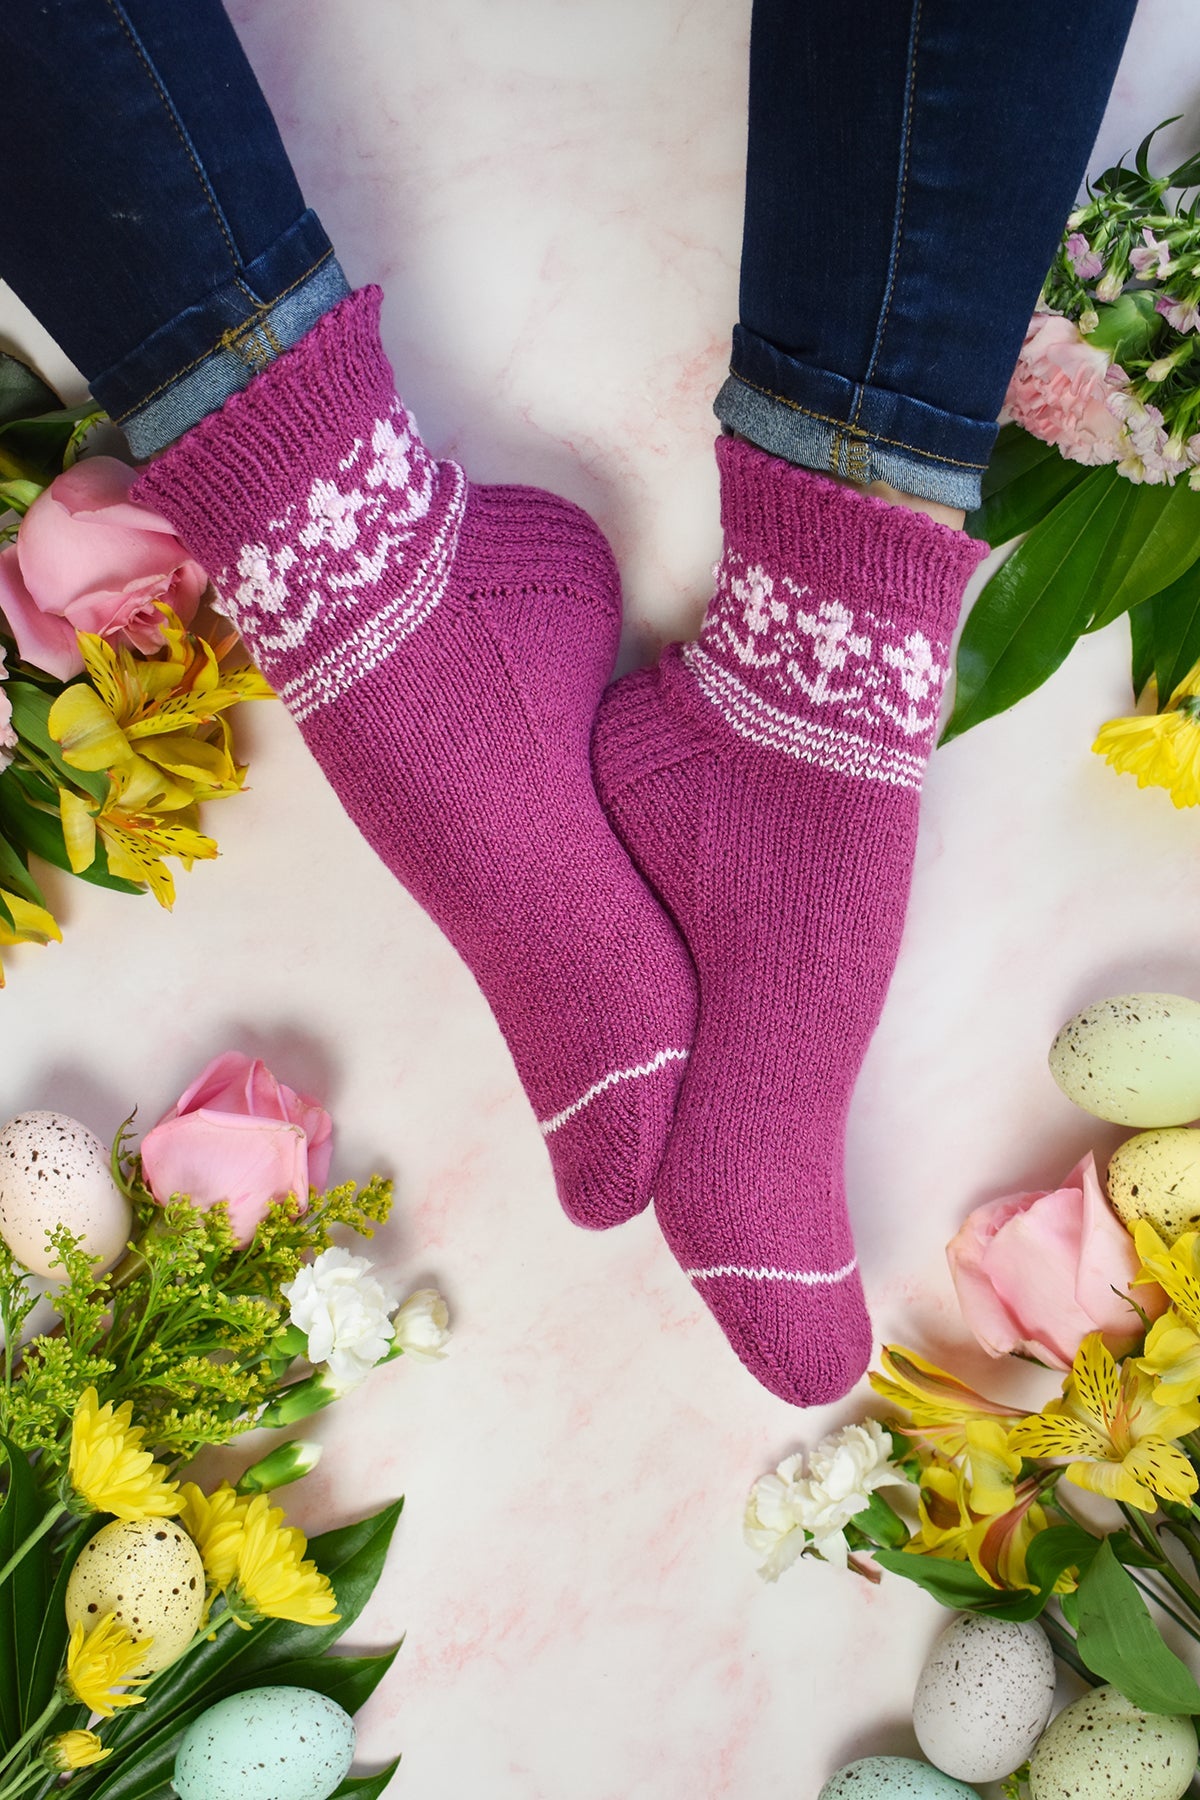
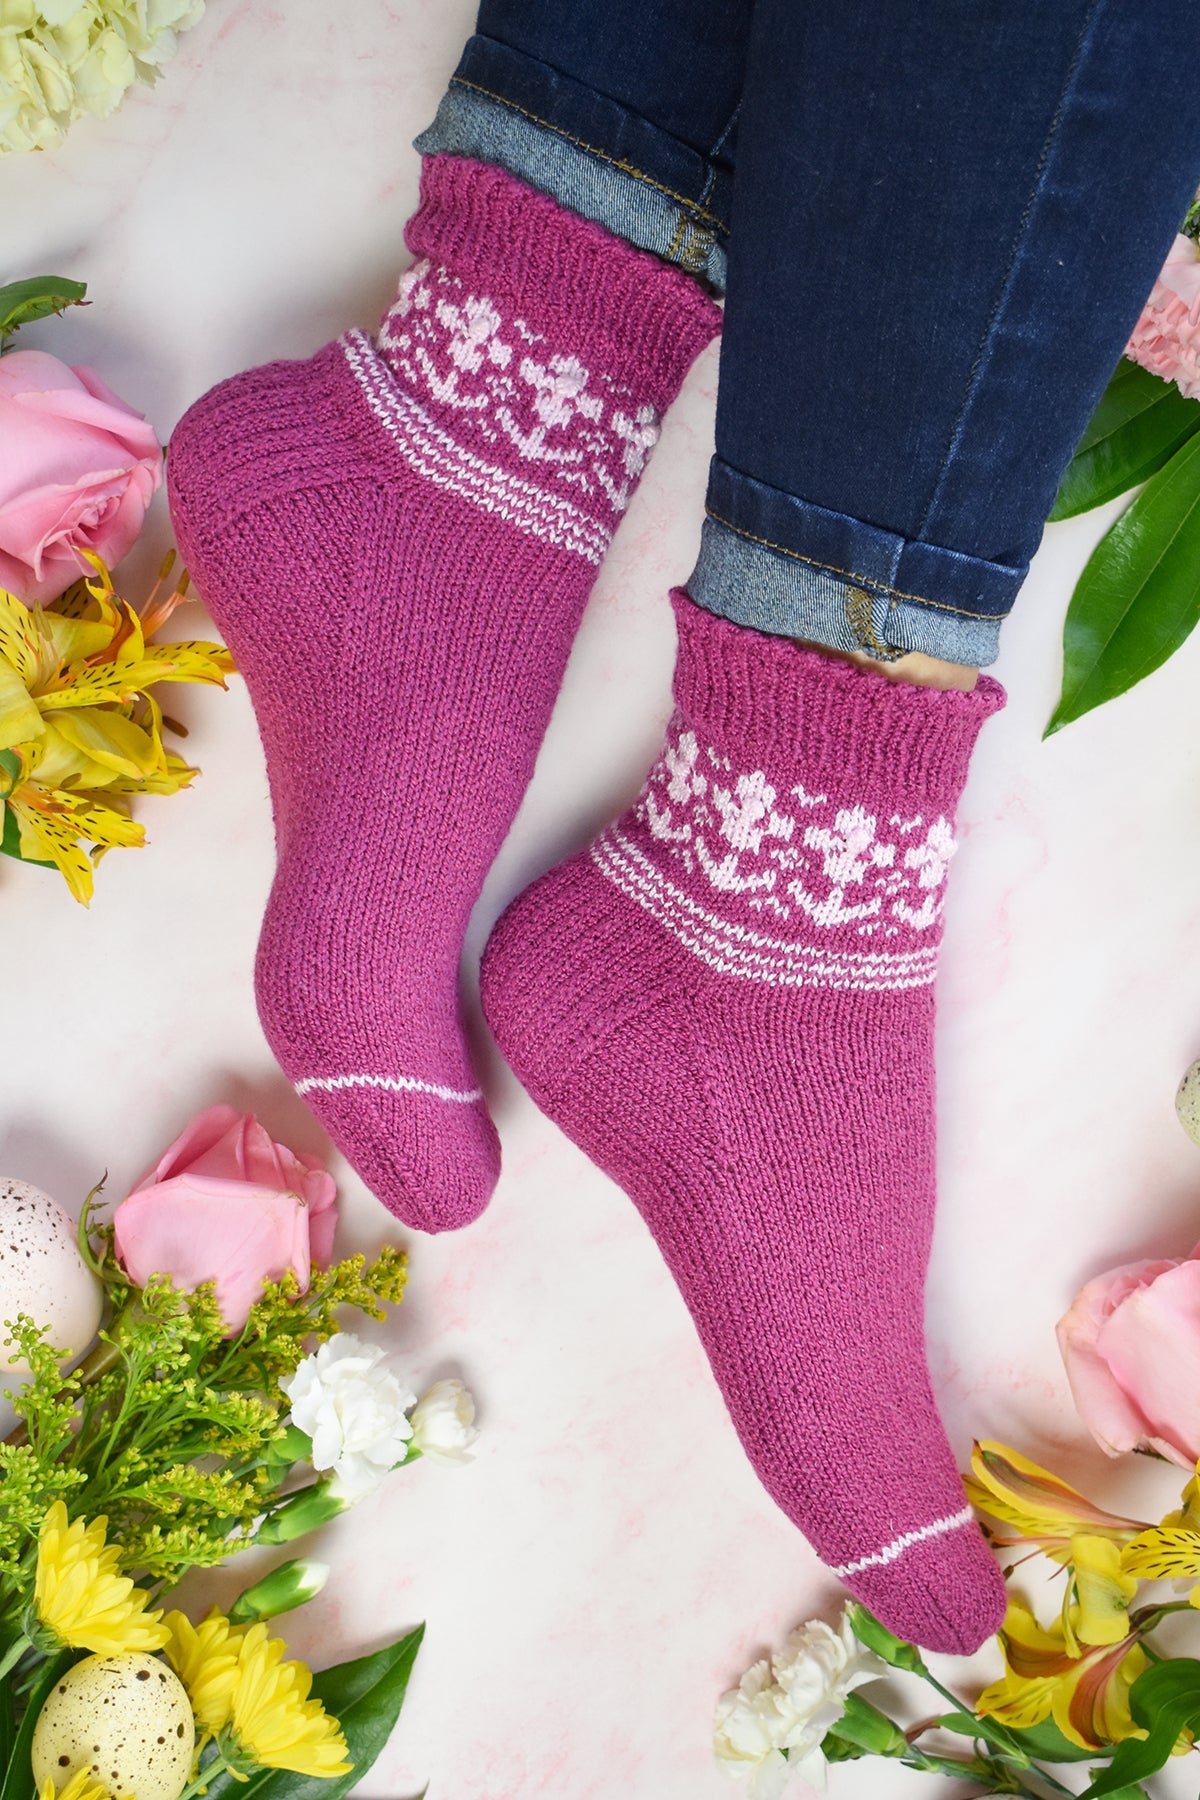
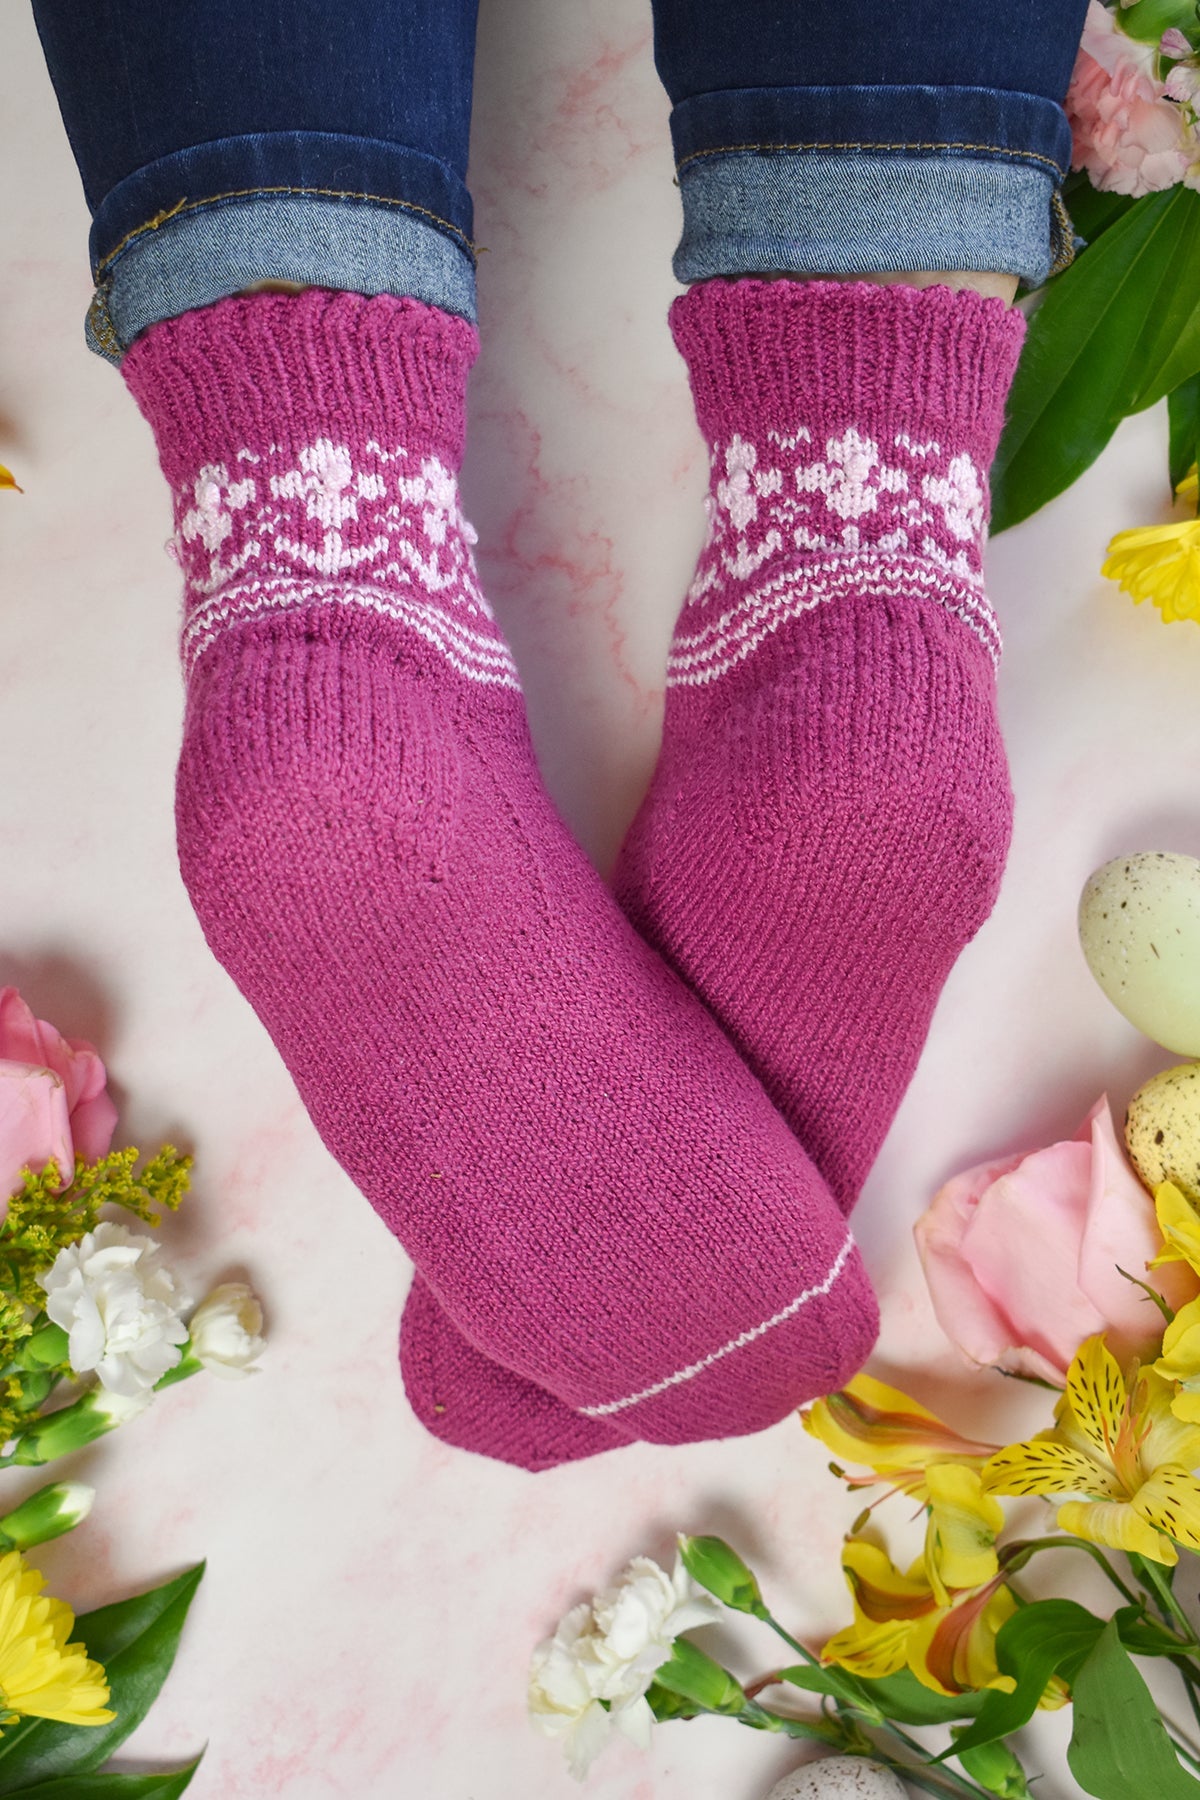
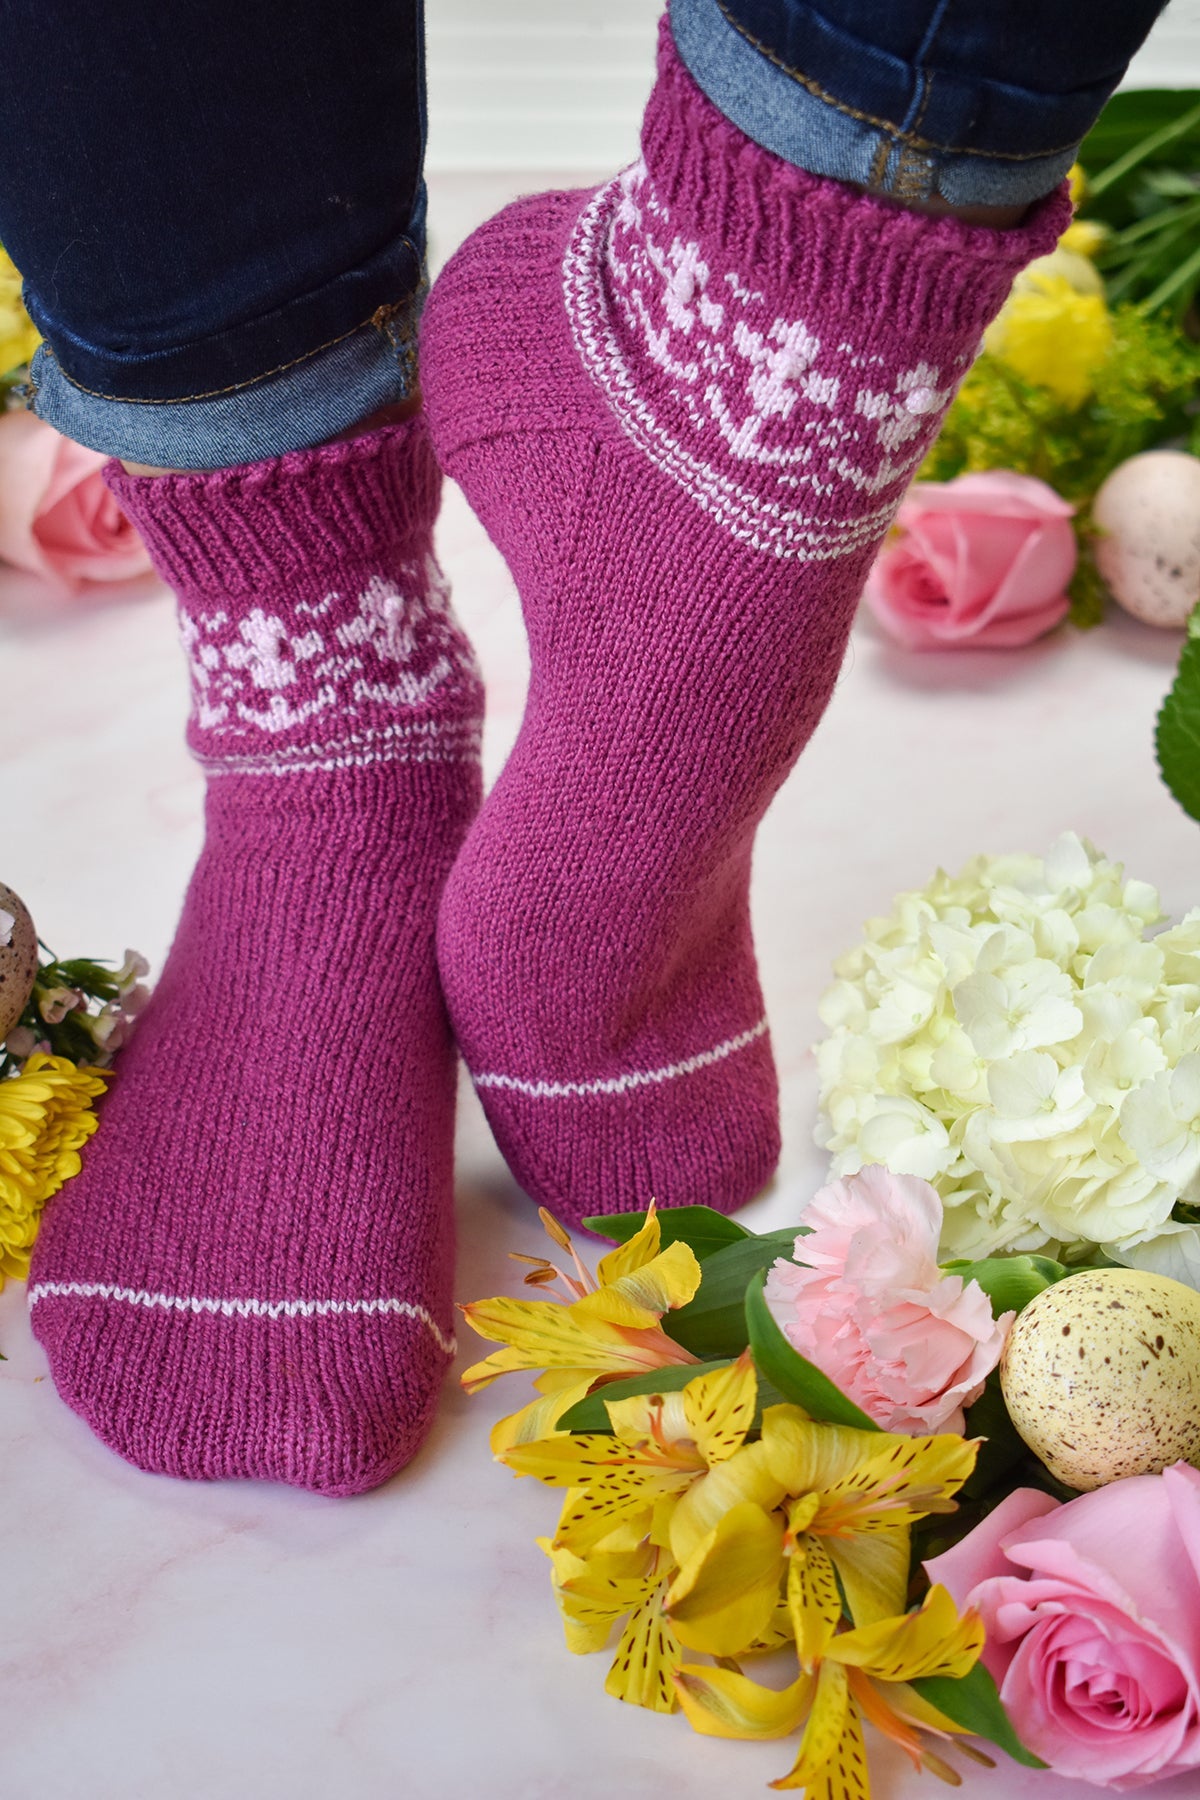
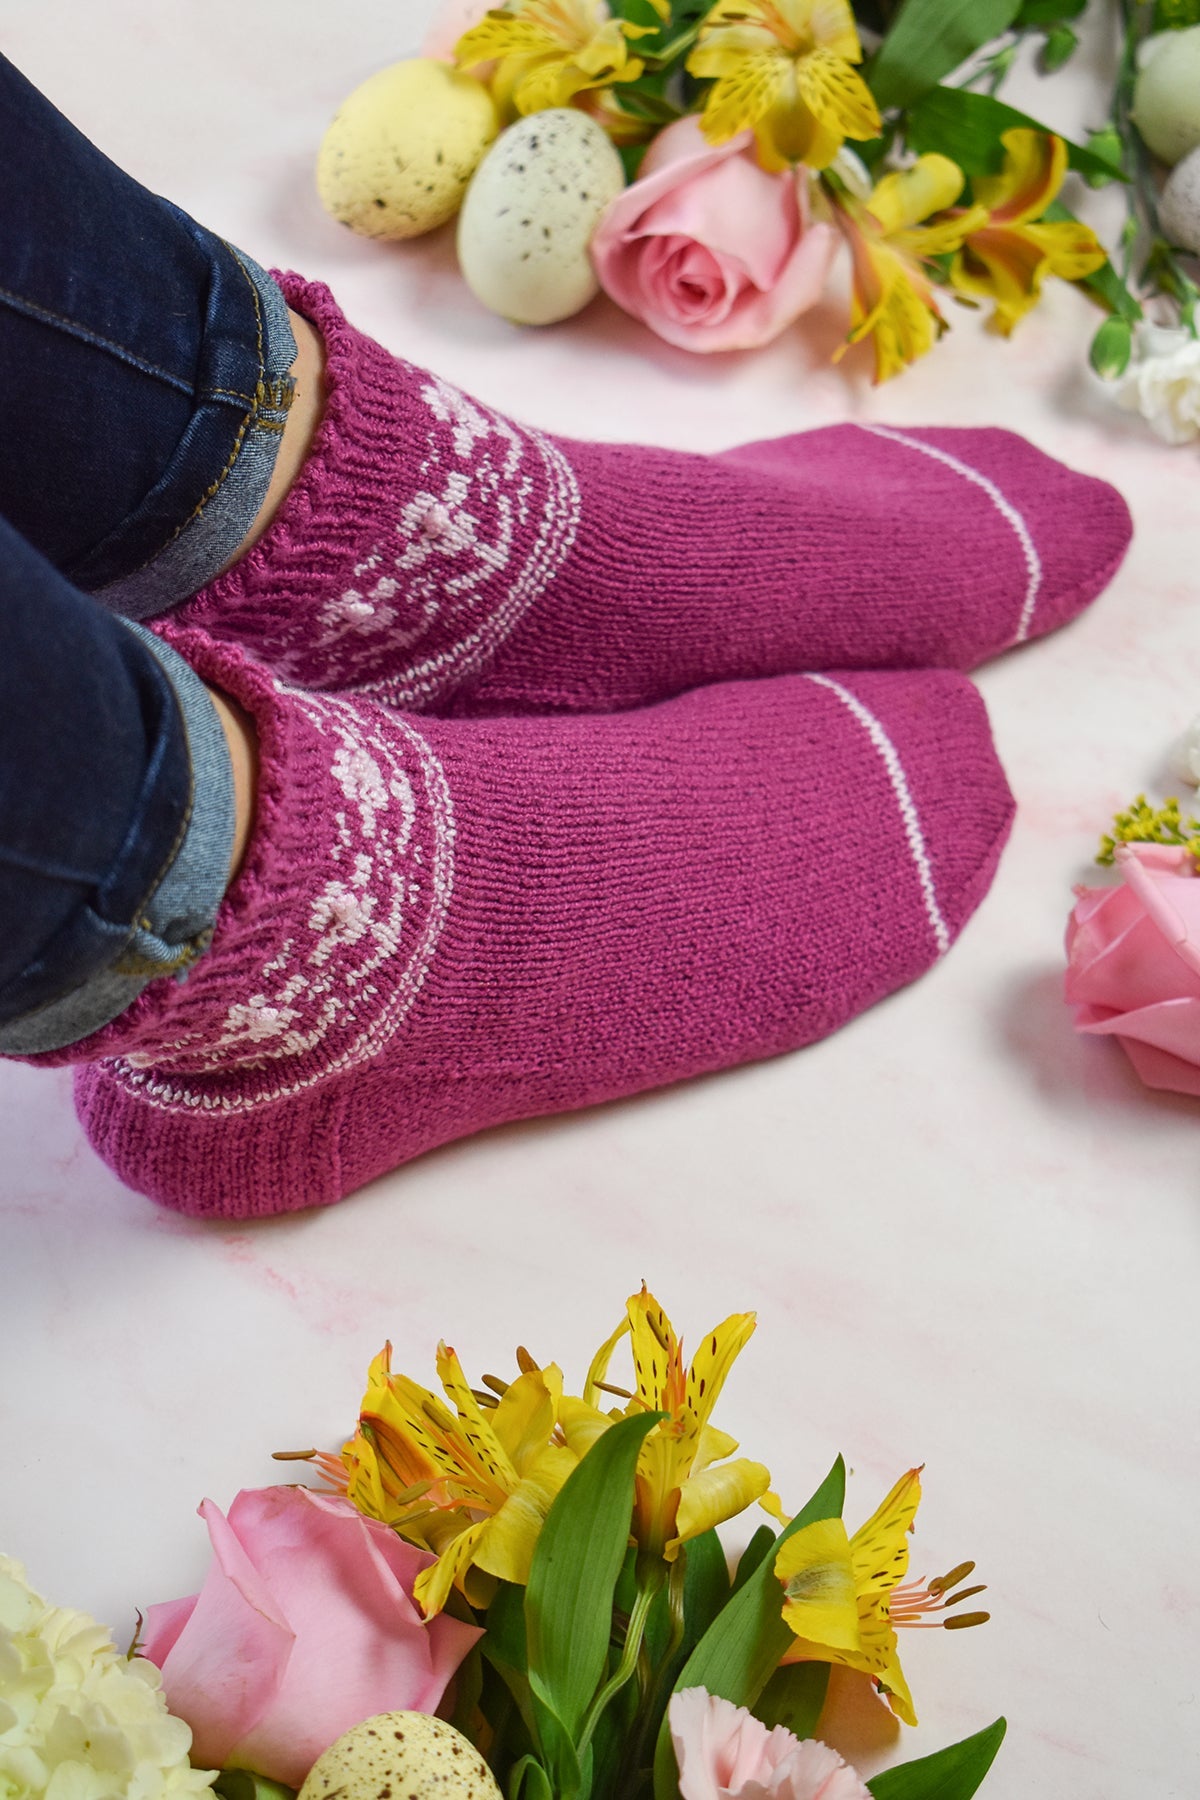
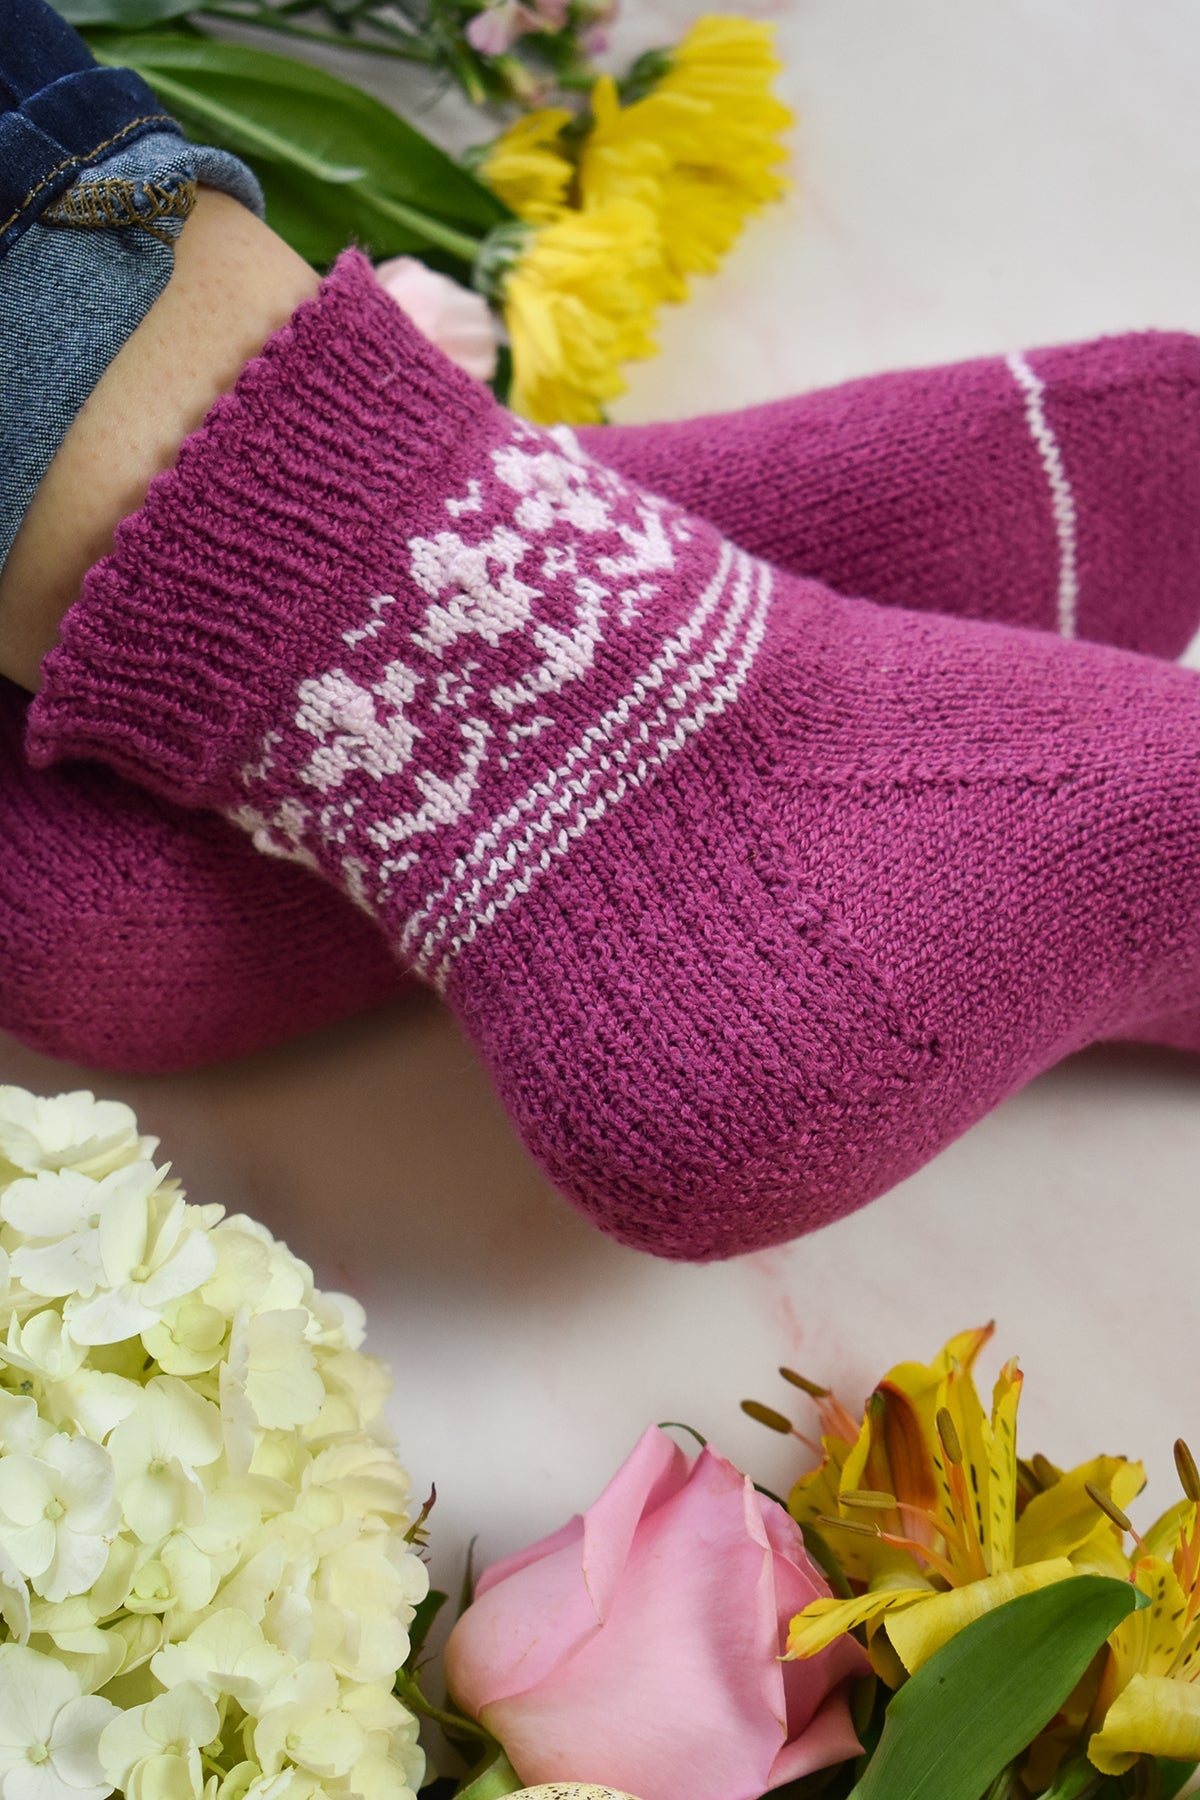
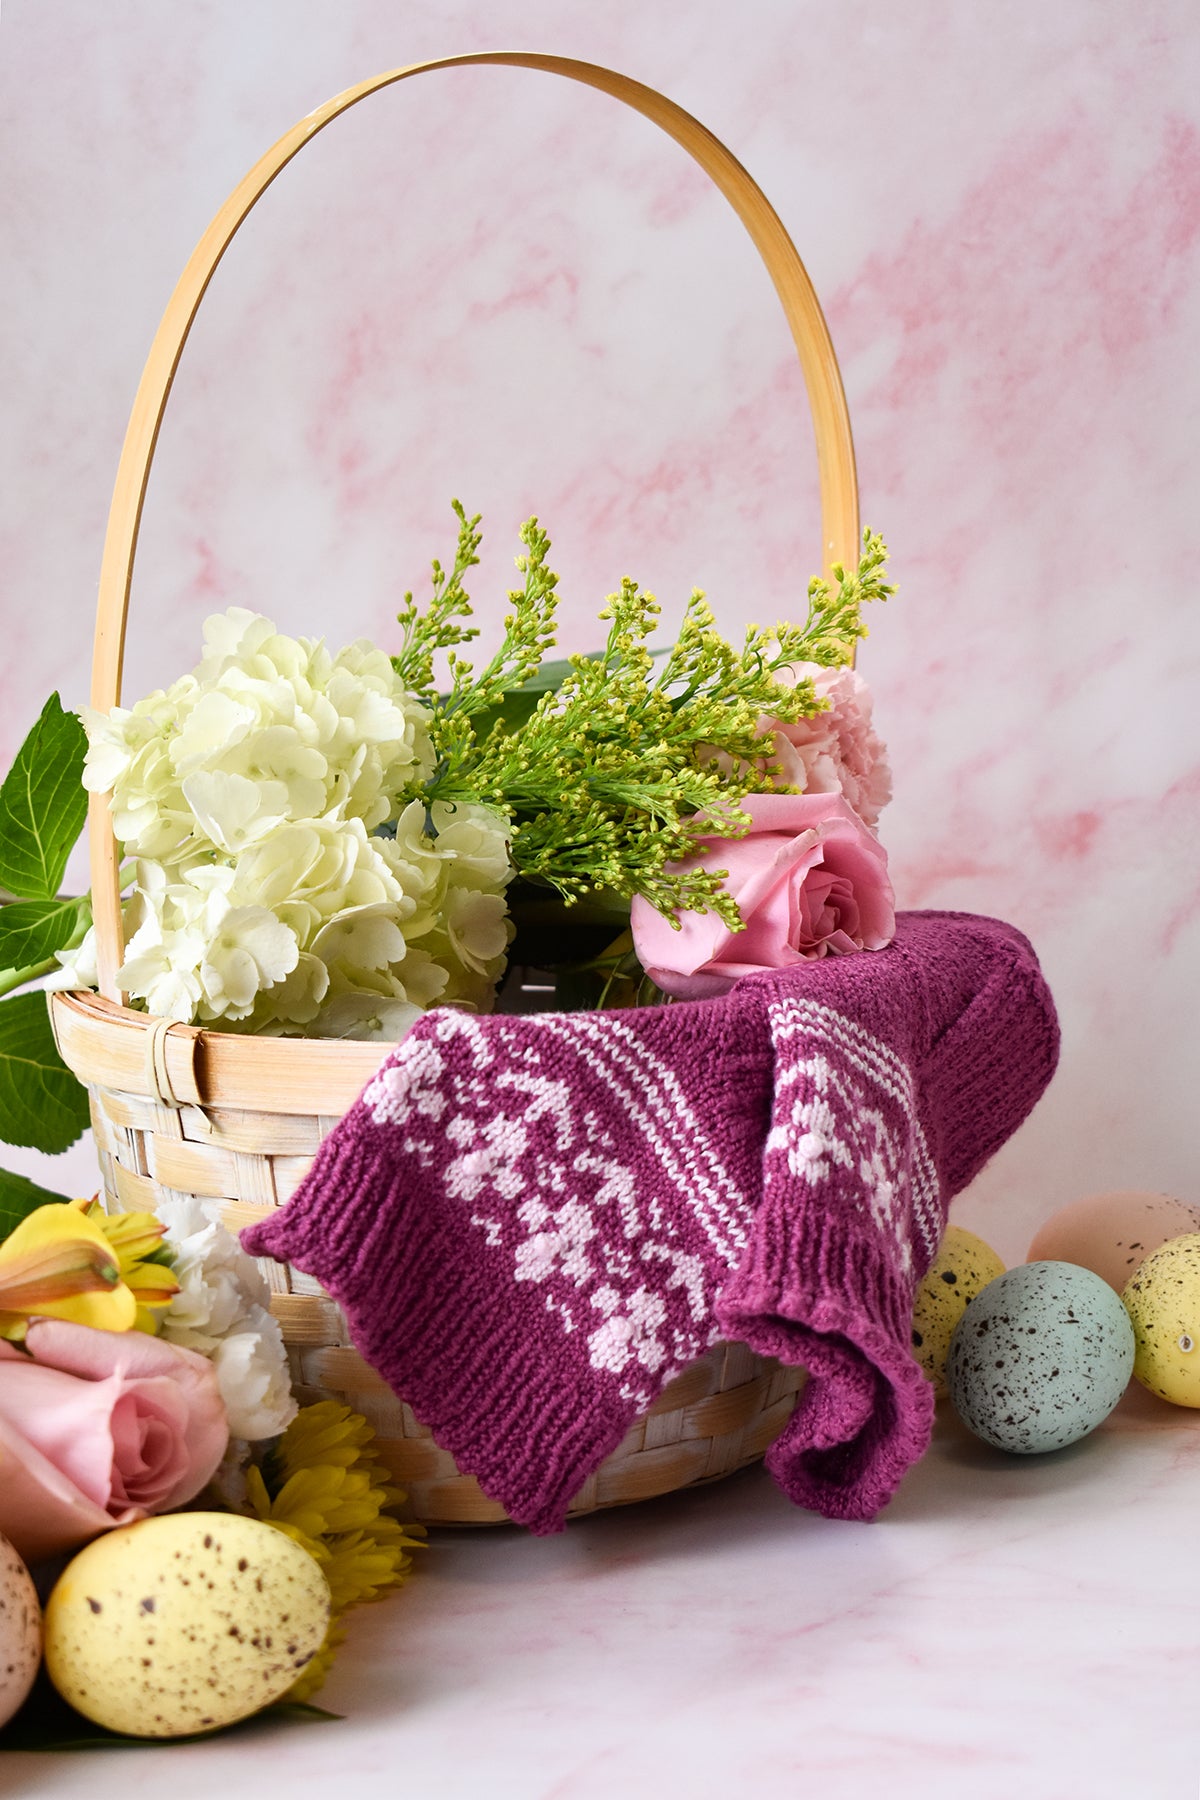
The Lunaria Socks are a modern, colorful celebration of spring and are named after the Lunaria plant, which has four-petaled flowers that bloom in mid- to late spring. For style inspiration, the Lunaria Socks draw on the floral dresses and ruffled cotton socks I wore to childhood Easter celebrations, updated with tiny bobbles and microstripes. The Lunaria socks are designed to hit mid-ankle, perfect for when the weather starts warming up.
Designed by Allison Lutes
DIFFICULTY Intermediate
SIZES Teen/Adult Extra Small (Adult Small, Medium, Large) Shown in Adult Small Size with approx. ½” of negative ease.
FINISHED MEASUREMENTS Foot Circumference: 6½ (7½, 8½, 9½)” Foot Length: Adjustable Note: See Pattern Notes regarding length. Leg Height: 3¾”
MATERIALS Universal Yarn Bamboo Pop Sock (55% bamboo, 37% cotton, 8% PBT; 100g/492 yds) • 611 Jam (MC) – 1 ball • 605 Lotus (CC) – 1 ball Needle: US Size 1 (2.25 mm) set of DPNs (or your preferred needle for knitting small circumferences) or size needed to obtain gauge US Size 2 (2.75 mm) set of DPNs (or your preferred needle for knitting small circumferences) or size needed to obtain gauge Notions: Tapestry needle, stitch markers (one unique marker to denote bor), stitch holder or waste yarn
GAUGE 34 sts x 46 rnds = 4” in Stockinette stitch (St st) using smaller ndl after blocking 34 sts x 46 rnds = 4” in stranded knitting using larger ndl after blocking Save time, check your gauge.
PATTERN NOTES These socks are knit in the round from the cuff down and feature a heel flap and gusset. The top of the cuff features a picot edge.
There are two versions offered of the Leg Chart provided for your convenience. The regular version reflects the samples shown, but an Inverse Leg Chart is included for swapping the MC and CC.
Note Regarding Foot Length: Yarn estimates are based on a sock foot length of 8½ (9½, 10½, 11½)”. You may need more or less yarn depending on foot length. For the best fit, knit socks ½” shorter than actual foot length.
The below links will be helpful as you work through the stripes in the Leg Chart and as you complete the Picot Edging: For jogless stripes, see this tutorial.
Demonstration of whip stitching a picot edge at this link.
Get 10% off On your next order when you sign up! we'll also send great promotions, exclusive weekly deals and new product launches.
We value your privacy
We and our partners use cookies and other technologies to improve your experience, measure performance, and tailor marketing. Details can be found in our Privacy Policy.